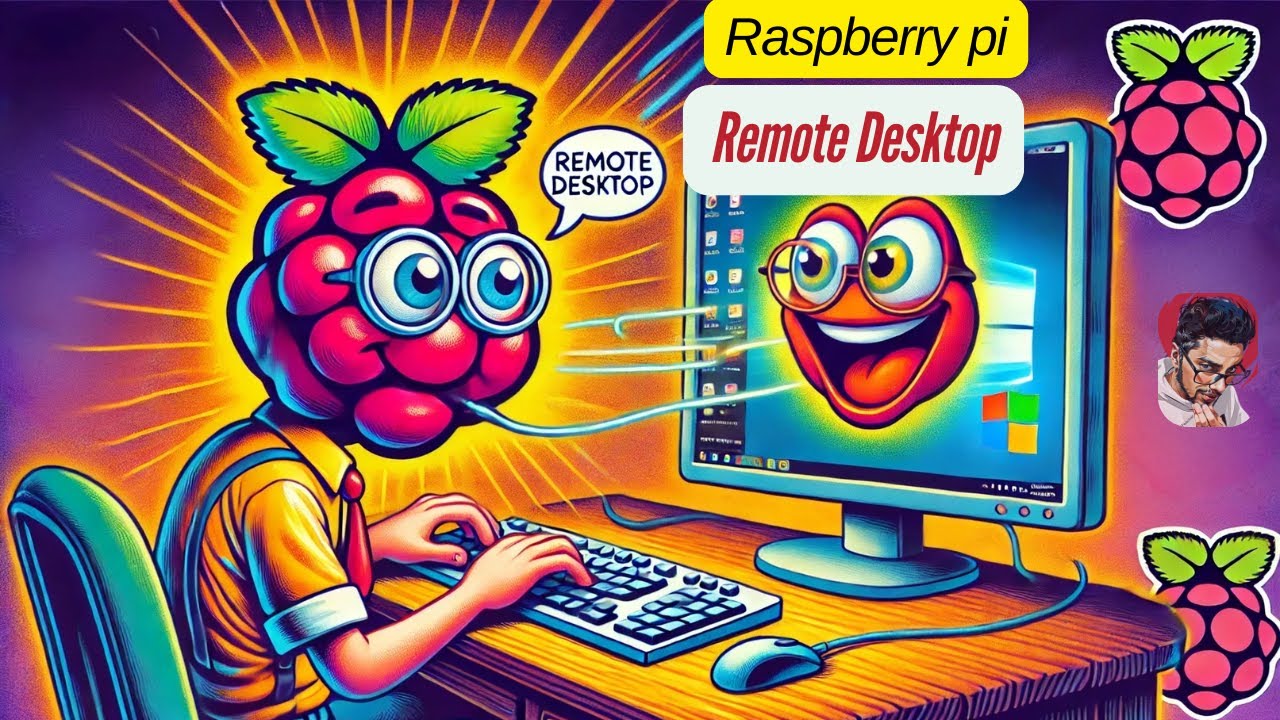
How To: Remotely Access Raspberry Pi Remote Desktop On Windows 10
Are you tired of being tethered to your Raspberry Pi, stuck at your desk when you could be anywhere? Unlocking the power of "remotely access Raspberry Pi remote desktop Windows 10" means liberating your projects and accessing your data from virtually any location with an internet connection, transforming a simple device into a versatile, accessible powerhouse.
The ability to manage your Raspberry Pi remotely, especially when using a Windows 10 machine as your primary interface, opens a world of possibilities. Imagine controlling your home automation system from your phone while you're on vacation, monitoring a security camera feed from across town, or continuing your coding projects from a coffee shop. The convenience and flexibility offered by remote desktop access are undeniable. Whether you are a hobbyist tinkering with projects, a student learning to code, or a professional managing embedded systems, the ability to remotely access your Raspberry Pi significantly enhances your workflow and expands your horizons. The process, while appearing complex to some, is surprisingly straightforward, and the benefits far outweigh the initial setup time. This article will navigate the various methods available, detailing the best practices and guiding you through the necessary steps to successfully establish a remote desktop connection to your Raspberry Pi from your Windows 10 computer. We will explore the key players in the remote access game, from built-in Windows tools to third-party applications, assessing their strengths and weaknesses to help you determine the ideal solution for your specific needs. The ultimate goal is to provide you with the knowledge and confidence to seamlessly manage your Raspberry Pi from anywhere, anytime.
Before we delve into the technicalities, let's understand the core components involved. Your Raspberry Pi, running an operating system like Raspberry Pi OS (formerly Raspbian), will act as the server. It's the device you want to control. Your Windows 10 computer will act as the client, the machine you'll be using to access the Pi. The connection itself will be established over your local network (if you're on the same Wi-Fi) or, more commonly, over the internet, using your home router to forward traffic to your Raspberry Pi. The essential tools you'll need include a properly configured Raspberry Pi with a static IP address (recommended for consistent remote access) and a Windows 10 computer. You'll also need an internet connection on both ends. The level of technical expertise required will vary based on the method you choose, but with clear instructions, even beginners can achieve successful remote access. This journey begins by examining the different methods available, from the simplest to the most advanced, enabling you to choose the most appropriate solution for your needs. We'll start with the built-in options within Windows 10 before moving onto more specialized applications designed specifically for remote desktop control.
One of the simplest and most readily available options is using the built-in Remote Desktop Connection feature within Windows 10. This method offers ease of use and requires no extra software installation on the client side (your Windows 10 machine). However, it necessitates some configuration on your Raspberry Pi and, depending on your network setup, potentially within your router settings. The core principle is straightforward: Windows 10's Remote Desktop Connection acts as a client, initiating a connection to another computer running a remote desktop server. In this case, we need to install and configure a remote desktop server on your Raspberry Pi to receive and respond to those connection requests. The advantage of using Remote Desktop Connection is its ubiquity. Its a standard feature, making it accessible on most Windows 10 installations without the need for additional downloads or installations. The setup is relatively straightforward, focusing on enabling Remote Desktop on the Raspberry Pi and ensuring proper network settings. The primary limitation is its dependence on the Raspberry Pi's ability to function as a server, which may require some additional configuration depending on the specific operating system and network setup of the Raspberry Pi.
To begin, you need to install a remote desktop server on your Raspberry Pi. A popular choice is xrdp, an open-source implementation of the Microsoft Remote Desktop Protocol (RDP). This allows your Raspberry Pi to act as a remote desktop server, essentially "speaking" the same language as Windows 10's Remote Desktop Connection. Installing xrdp is typically a straightforward process, usually accomplished using the apt package manager. Open a terminal on your Raspberry Pi (either directly connected or via SSH if you already have it set up), and execute the following commands: `sudo apt update` followed by `sudo apt install xrdp`. This updates your package lists and then installs xrdp. After the installation completes, you might need to configure xrdp to work correctly with your desktop environment (e.g., LXDE). For this, you might need to set up a password for the `pi` user (or whichever user you are using) to allow remote access. You can then restart the xrdp service with `sudo systemctl restart xrdp`. Before attempting to connect, its crucial to determine your Raspberry Pi's IP address. You can find this by running the command `hostname -I` in the terminal. Make a note of this IP address, as you'll need it to connect from your Windows 10 machine. This is the gateway through which your Windows 10 machine will access your Raspberry Pi.
Now, on your Windows 10 machine, open the Remote Desktop Connection application. You can search for it in the Windows search bar. Enter the IP address of your Raspberry Pi (the one you noted earlier) into the "Computer" field. You can optionally add a user account to connect with the device. Click "Connect." You will likely be prompted for your username and password for your Raspberry Pi account. Enter these credentials and click "OK." If everything is configured correctly, you should see your Raspberry Pi's desktop appear in a window on your Windows 10 machine. You can now interact with your Raspberry Pi as if you were sitting in front of it. This is the most basic method. The default settings of xrdp might not always offer the best performance, so you might need to adjust display settings (like color depth) or consider other optimization techniques. After the initial setup, troubleshooting performance issues becomes important. A slow connection can be caused by a number of factors, including the network connection, the Raspberry Pi's processing power, and the display settings. Try reducing the color depth in the Remote Desktop Connection settings to improve performance.
While xrdp offers a simple and widely compatible solution, it sometimes experiences performance limitations, particularly over slower internet connections. Moreover, configuring xrdp to seamlessly handle audio and other advanced features can sometimes involve additional setup. For those seeking a more streamlined and feature-rich experience, especially with the intention of accessing advanced features such as transferring files or audio, third-party applications offer compelling alternatives. Applications like TeamViewer and AnyDesk are particularly popular because they are designed to be user-friendly and provide a wealth of features, catering to both novice and experienced users. These applications typically handle the complexities of network configuration and security behind the scenes, simplifying the setup process. A significant benefit of these third-party solutions is their cross-platform compatibility. They often offer clients not only for Windows 10 but also for macOS, Linux, Android, and iOS, making them versatile tools for accessing your Raspberry Pi from various devices. The ease of use makes these solutions appealing. Both TeamViewer and AnyDesk typically provide a straightforward setup process: installing the application on both your Raspberry Pi and your Windows 10 machine, creating an account, and connecting via a unique ID and password. The configuration is often automated, and the interface is designed for intuitive navigation. The initial setup might be slightly more involved than using the built-in Remote Desktop Connection. However, the added features and improved performance often justify the extra steps.
Let's examine how you can configure TeamViewer for "remotely access Raspberry Pi remote desktop Windows 10". Firstly, you need to download and install the TeamViewer package on your Raspberry Pi. You can find the appropriate package on the TeamViewer website, selecting the Linux distribution package for your Raspberry Pis architecture. The installation process usually involves downloading the deb or rpm package and then installing it using the package manager appropriate for your distribution (usually `dpkg` for Debian-based systems like Raspberry Pi OS). After installation, you'll be prompted to create a TeamViewer account or log in to an existing one. TeamViewer will assign a unique ID and password to your Raspberry Pi, which you'll use from your Windows 10 machine to establish a connection. TeamViewer offers a user-friendly interface, simplifying the process of establishing a remote connection. Simply install TeamViewer on your Windows 10 machine, enter the ID and password of your Raspberry Pi, and click "Connect." From there, you will see the desktop of your Raspberry Pi. This will allow for immediate access to the connected Raspberry Pi.
Similarly, AnyDesk provides a simple, effective remote desktop solution. Download and install the AnyDesk package on your Raspberry Pi, which again can be found on the official AnyDesk website. The process is similar to TeamViewer, downloading and installing the appropriate package for your Raspberry Pis architecture. On your Raspberry Pi, AnyDesk will generate a unique ID. Once installed, open the AnyDesk application on your Windows 10 machine. Enter the AnyDesk ID of your Raspberry Pi into the "Remote Desk" field, and click "Connect." You will be prompted for a password set on the Raspberry Pi. Input the password and press "OK." This will initiate the connection. The performance of both TeamViewer and AnyDesk is typically superior to that of xrdp, especially over less-than-ideal internet connections. This is due to the optimized video codecs and efficient data transmission they employ. Beyond the basic remote desktop features, they offer additional functionalities, such as file transfer, audio transmission, and remote printing capabilities. These tools frequently include advanced security features, often including end-to-end encryption, safeguarding your connection and your data. The enhanced performance, ease of use, and advanced features make these applications suitable for a variety of remote access scenarios.
However, neither TeamViewer nor AnyDesk is without their considerations. Free versions may have limitations, such as usage time restrictions or a lack of advanced features. The user interface might be different, which can affect initial setup. It is advisable to carefully review their respective terms of service and privacy policies to ensure they align with your needs. Some users might also have concerns about relying on third-party services for remote access, especially if they prioritize data privacy and security. Another aspect to consider is the dependence on a central server for connection brokering. Both TeamViewer and AnyDesk rely on their own servers to facilitate the connection between your devices. This means that if their servers are down, you won't be able to access your Raspberry Pi remotely. Though these outages are rare, it is an important consideration for users who require reliable remote access 24/7. The advantage, however, is the simplicity of use, making it a trade-off many users are willing to make. When selecting between TeamViewer and AnyDesk, compare their features, performance, pricing, and your personal preferences to determine which best suits your situation. Before committing to a paid plan, try the free version to evaluate its performance and features.
When you've established a remote desktop connection, securing your Raspberry Pi is paramount. Remote access introduces potential vulnerabilities if not properly managed. It is advisable to implement strong passwords for all user accounts on your Raspberry Pi. Avoid using easily guessable passwords and regularly update them. If your Raspberry Pi is accessible over the internet, consider enabling a firewall. The Raspberry Pi OS (formerly Raspbian) includes a built-in firewall, `iptables`, that you can configure to restrict incoming connections to only the necessary ports. This will block any unwanted access. For additional security, consider using SSH keys instead of passwords for SSH access. This is another method to prevent unauthorized access. If using port forwarding on your router (to access your Raspberry Pi from outside your local network), make sure to only forward the necessary ports and to use a non-standard port for SSH or RDP to reduce the risk of automated attacks. Regularly update your Raspberry Pi's operating system and all installed software packages. Updates often include security patches that address known vulnerabilities. You can do this by using the `apt update` and `apt upgrade` commands. Consider configuring two-factor authentication (2FA) if your remote desktop application supports it. This adds an extra layer of security by requiring a second verification method, such as a code from a mobile app, to log in. Security doesn't stop at the Raspberry Pi. Make sure that your Windows 10 machine is also secure, with strong passwords, updated antivirus software, and regular security scans. Keeping your Windows 10 machine secure is important, as any vulnerabilities could compromise your remote access.
Beyond basic remote access, you can configure your Raspberry Pi for more advanced functionality. You could create a home server. With the proper configuration, you can turn your Raspberry Pi into a home server. It would be capable of storing files, streaming media, or hosting a website. This can be configured using a range of software. For example, install and configure a Samba server on your Raspberry Pi to share files with other devices on your network. You can also use a media server such as Plex or Kodi to stream your videos, music, and photos to any device. This can be accessible when you're away from your local network. The Raspberry Pi is a great platform for running a web server. Install web server software, like Apache or Nginx, and host your own website or web applications. This is a great way to learn and experiment with web development. Another possibility is to use the Raspberry Pi as a VPN server. If you require secure access to your home network while you're away, set up a VPN server such as WireGuard or OpenVPN on your Raspberry Pi. This encrypts your network traffic, offering a secure connection to your home network. The possibilities are numerous, depending on your requirements and skills. Another powerful application is as a network monitor and security camera. Use the Raspberry Pi with a camera module to create a low-cost security system. It can monitor a location, and send notifications based on triggered events. This offers both the convenience of automation and monitoring of the device's activity.
When working with remote access, be aware of network configurations. If you are accessing your Raspberry Pi from outside your local network (e.g., from a coffee shop or a friend's house), you need to configure your router to forward traffic to your Raspberry Pi. This involves setting up port forwarding in your router's settings. You'll need to determine your public IP address (the IP address your home network uses to connect to the internet). You can find this by searching "what is my IP" on Google. In your router's configuration, you need to map the external port (e.g., port 3389 for RDP) to the internal IP address of your Raspberry Pi (the IP address within your local network) and the corresponding port on the Raspberry Pi. The exact steps will vary depending on your router's manufacturer, so consult your router's manual or online resources for specific instructions. When configuring port forwarding, be mindful of security. Make sure you only forward the necessary ports and choose a strong password for your Raspberry Pi. When accessing your Raspberry Pi from another network, you might encounter issues. If you encounter connectivity problems, troubleshoot by first ensuring your Raspberry Pi is powered on and connected to the internet. Verify the IP address is the correct one, and test the connection from within your local network. If you have access, verify that port forwarding is correctly configured on your router.
Another common issue is the dynamic IP address. Your internet service provider (ISP) might assign a dynamic IP address to your home network. This means that your public IP address can change over time. If your IP address changes, you will no longer be able to connect to your Raspberry Pi using the old IP address. To overcome this, use a dynamic DNS (DDNS) service. DDNS services provide a hostname that remains constant, even if your IP address changes. This allows you to access your Raspberry Pi using the hostname, rather than having to track your IP address. Many DDNS services are free or offer affordable paid plans. Popular choices include No-IP and DuckDNS. Configure the DDNS client on your router or Raspberry Pi to keep your hostname updated with your current IP address. This simplifies the remote access process.
Choosing the right method for "remotely access Raspberry Pi remote desktop Windows 10" depends on your individual needs and technical proficiency. The built-in Remote Desktop Connection provides a simple entry point, while third-party applications like TeamViewer and AnyDesk offer enhanced features and improved performance. Advanced users may also consider using SSH tunneling for a more secure connection or setting up a VPN for comprehensive remote access. Remember to prioritize security throughout the process, implementing strong passwords, firewalls, and regular security updates. By carefully following the steps outlined in this article and adapting them to your particular setup, you can unlock the power of your Raspberry Pi, enabling you to work, learn, and create from anywhere in the world.


